Have a PDF that looks great, but won’t let you change a name, add a date, or type where you need to? If you have Microsoft Word, you can open the PDF, turn it into an editable document, and save it as a PDF again when you’re finished.
I’ll use an employee-of-the-month certificate as an example. It has space for a recipient, a presenter, and a date, but opening it in a PDF reader doesn’t let me simply click and replace those details. Word gives us a straightforward way to make those changes.
And yes, a certificate is a nice way to recognize employees. I’d probably pair it with more money rather than offer it instead of a raise. But first, we need to get the name on it.
1. Open the PDF in Word
I’m using the desktop version of Word included with Microsoft 365, previously called Office 365. The exact screens may differ in other versions.
You have two ways to open your PDF:
- Drag and drop: Open Word to its home screen, then drag the PDF file from your desktop into the Word window.
- Use Open: In Word, choose File > Open, browse to the PDF on your computer, and open it.
Word will display a message explaining that it needs to convert the PDF into an editable Word document. Select OK to continue. There’s also an option to stop showing that message in the future.
The important detail: Word isn’t editing the original PDF directly. It’s converting the content into a Word document that you can modify.
The conversion may not look exactly like the original PDF, particularly if the file contains lots of graphics. Check the layout after opening it rather than assuming everything stayed in precisely the same place. Microsoft’s guidance on editing PDFs in Word provides additional context about this conversion.
2. Edit the Text and Adjust the Formatting
Once Word finishes converting the file, you can start changing the content using Word’s editing tools.
For the certificate, I select the recipient placeholder and replace it with Kevin Stratvert. No better choice for employee of the month than the owner of the company, right? I’m sure that will do wonders for morale.
After replacing the name, I adjust its position so it’s centered on the certificate.
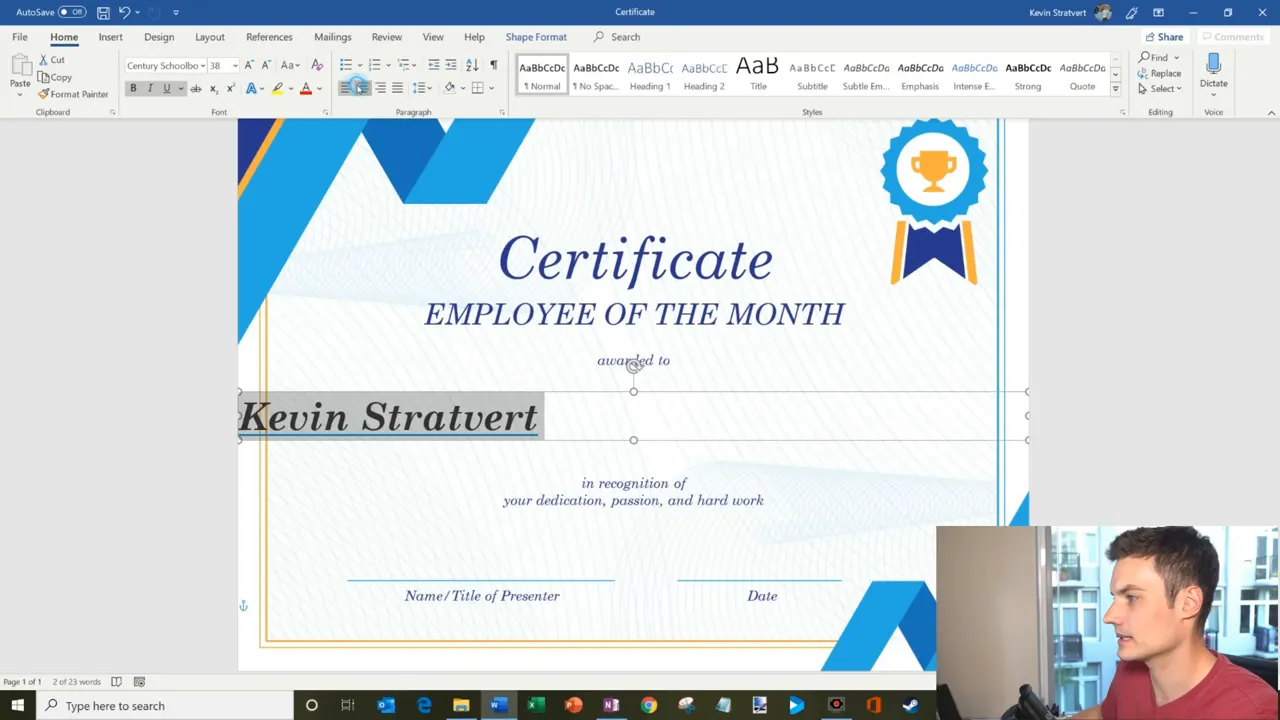
Copy a Text Box When You Can’t Type Where You Need To
Some parts of the converted certificate aren’t as easy to click into. The presenter area, for example, doesn’t let me simply place the cursor where I want it.
Instead, I reuse a text box that already works:
- Select and copy the recipient text box.
- Paste the copy and move it into the presenter area.
- Keep the matching font, but remove the underline.
- Reduce the font size so the name fits the smaller space.
This is a handy way to maintain a consistent look without rebuilding the formatting from scratch.
For this example, I’m also the presenter. Giving myself the award was already questionable, and now the paperwork makes it very obvious. We’ll go with it.
Finally, I add the example date, September 1, 2019, in the date area. Before saving, I check the recipient, presenter, date, and overall alignment.
3. Save the Edited Document as a PDF
With the changes complete, the last step is to put the document back into PDF format.
- Choose File > Save As.
- Select where you want to save the file.
- Choose PDF as the file type.
- Give it a new name, such as Certificate Kevin.
- Select Save.
Using a new filename makes it easy to distinguish the personalized certificate from the original template.
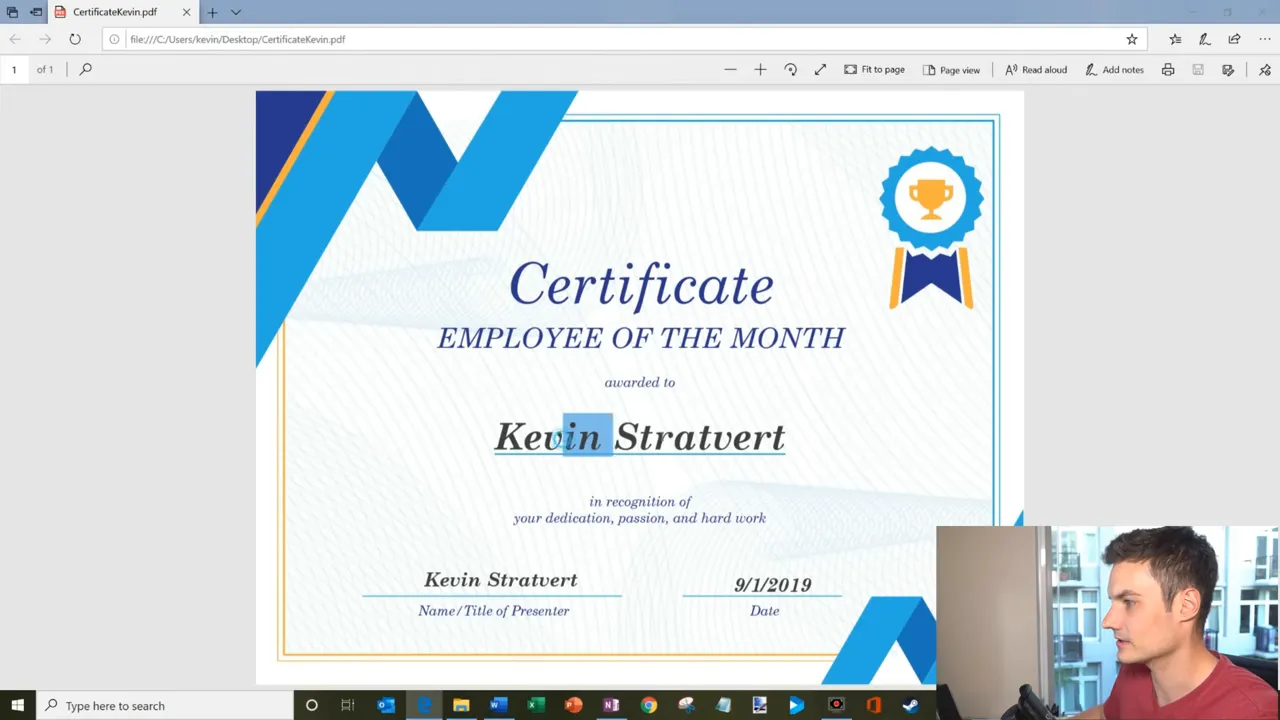
Open the saved PDF and confirm that the changes look right. In this example, the certificate now includes the recipient’s name, the presenter’s name, and the date.
That’s the whole workflow: open the PDF in Word, make your edits, and save it as a PDF again. As long as the conversion preserves the layout well enough for your needs, Word can make a small PDF update surprisingly easy.
Made with VideoToBlog using How to Edit PDF File in Word


