You can record your computer screen and webcam at the same time without paying for screen recording software. OBS Studio lets you combine your desktop, webcam, microphone, and computer audio into one recording, and it works on Windows, Mac, and Linux.
That combination is useful for gaming videos, software tutorials, presentations, and work walkthroughs. Your screen shows what you’re doing, while a small webcam image adds a personal touch.
OBS has quite a few controls, so the first screen can look a little intimidating. But for a basic screen and webcam recording, you only need to set up two video sources, check your audio, and choose where to save the file. I’ll use Windows for the steps below.
What You'll Learn
- Combine Display Capture and Video Capture Device sources to record your screen and webcam together.
- Keep the webcam source above the display source so your camera image stays visible.
- Check microphone and desktop audio separately before starting your recording.
- Choose a recording format and save location, then review a short test recording.
Table of Contents
- 1. Download and Install OBS Studio
- 2. Add Your Computer Screen as a Source
- 3. Add Your Webcam and Arrange the Layout
- 4. Choose Your Recording Format and Save Location
- 5. Check Your Microphone and Computer Audio
- 6. Start Recording Your Screen and Webcam
- 7. Stop, Find, and Review Your Recording
- A Simple Setup With Room to Grow
1. Download and Install OBS Studio
Start at the official OBS Studio website and choose the download for your operating system.
There are plenty of screen recording programs available, including ezvid and Camtasia. Some alternatives cost money or include ads. OBS Studio is free, open source, and has no ads, which makes it a great place to start.
- Download the installer for Windows, Mac, or Linux.
- Open the downloaded installer.
- On Windows, approve the prompt asking whether the app can make changes to your device.
- Follow the installation prompts and choose an installation location.
- Launch OBS Studio when installation finishes.
Once OBS opens, you’ll see a large preview area along with panels for scenes, sources, audio, and recording controls. Those are the main areas we’ll use.
2. Add Your Computer Screen as a Source
OBS builds a recording from sources. Your desktop is one source, and your webcam is another. A scene holds those sources together in the layout you want to record.
You can use the scene that is already set up when OBS opens. First, add your display:
- Find the Sources panel.
- Click the + button.
- Select Display Capture.
- Keep the default source name, or enter a name you’ll recognize, then click OK.
- Check that the correct display appears in the properties preview.
- Click OK to add it to your scene.
Your desktop should now appear in the OBS preview. This is the background of your recording.
If OBS is visible on the display you’re capturing, the preview may show the OBS window repeated inside itself. You’re capturing the screen that contains the preview, so that repeated image is expected.
3. Add Your Webcam and Arrange the Layout
Now add the camera feed on top of your desktop.
- Click the + button in Sources again.
- Select Video Capture Device.
- Keep the default name or give the source a descriptive name, then click OK.
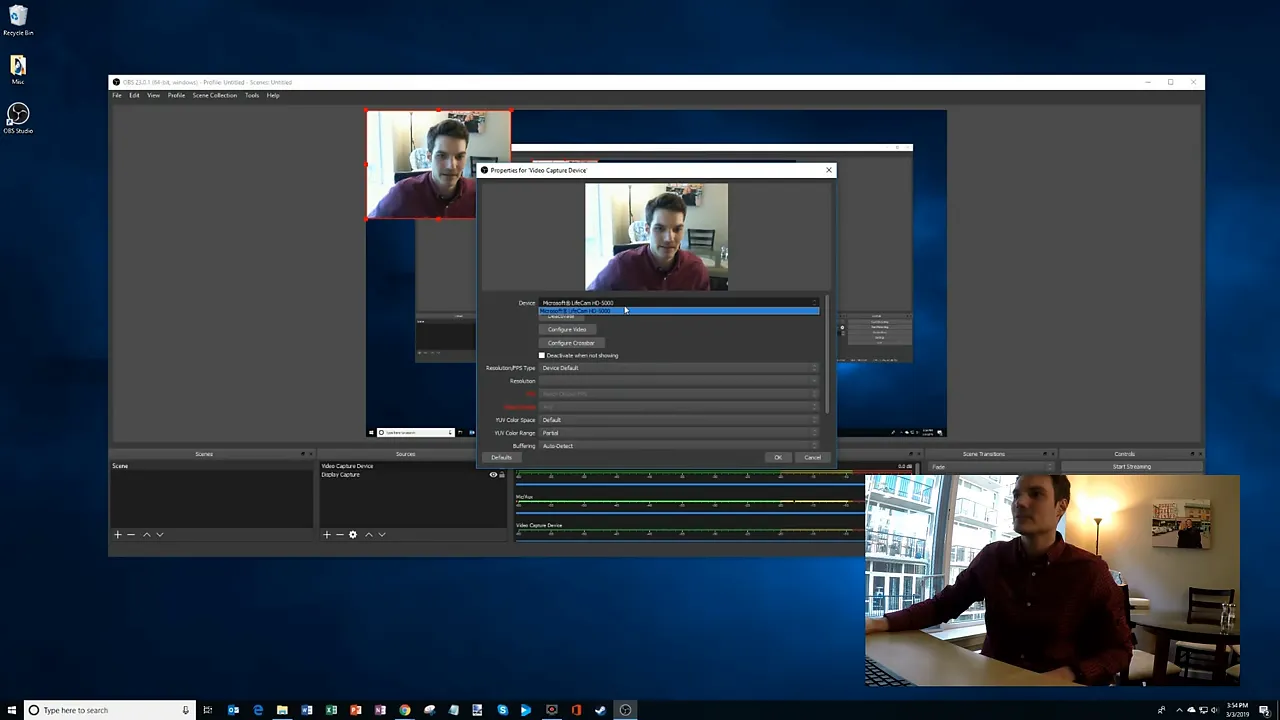
- Select your webcam from the device list.
- Check the camera preview, then click OK.
In my setup, OBS detects a Microsoft LifeCam HD-5000 connected to the computer. Your device list will reflect the camera you have connected. You can also open the camera’s configuration controls to adjust its settings, but you don’t need to change them if the preview already looks good.
Keep the webcam above the display capture
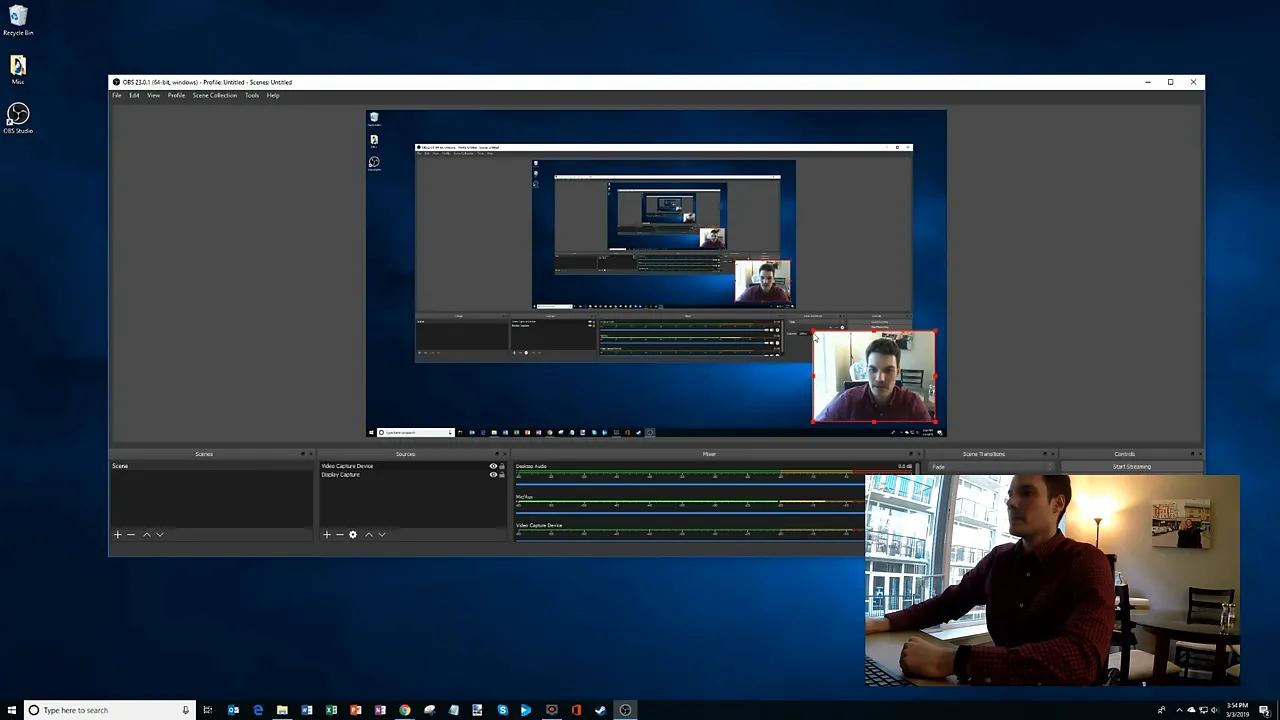
The order of sources matters. Make sure Video Capture Device appears above Display Capture in the Sources list. That puts your webcam image in front of the desktop instead of hiding it behind the screen capture.
Resize and position your webcam
Select the webcam image in the OBS preview. Drag its resize handles to make it larger or smaller, then drag the image itself to position it.
You could make the camera image huge if you really want lots of your face on screen. For most tutorials and gaming recordings, though, a smaller image in a corner leaves more room for the actual content.
I’m placing mine in the bottom-right corner. Choose a location that doesn’t cover the menus, buttons, or other information you want to explain.
4. Choose Your Recording Format and Save Location
Before recording, check two settings: the file format and the folder where OBS will save your videos.
- Open File > Settings.
- Select Output.
- Find the recording options.
- Choose your Recording Format.
- Check the Recording Path, using Browse if you want to choose a different folder.
- Apply your changes and close Settings.
I choose MP4 because the video editing software I use accepts MP4 files. The important thing is to choose a format that works with the software you plan to use afterward.
In my example, the recording path points to the Videos folder in my Windows user account. Yours may be different, so take a moment to check it now. It’s much easier than trying to figure out where your recording went later.
5. Check Your Microphone and Computer Audio
A screen recording needs more than a good picture. If you’re explaining a process or recording a game, you’ll probably want both your voice and the sound from the computer.
The Audio Mixer lets you check and adjust those audio sources separately:
- Desktop Audio: Sound coming from your computer, such as a game or application.
- Mic/Aux: Your microphone input. In my setup, this is the microphone built into the webcam.
Speak into your microphone and look for movement in its level meter. Then play some sound on the computer and check the desktop audio meter. Use the sliders to adjust each source’s volume.
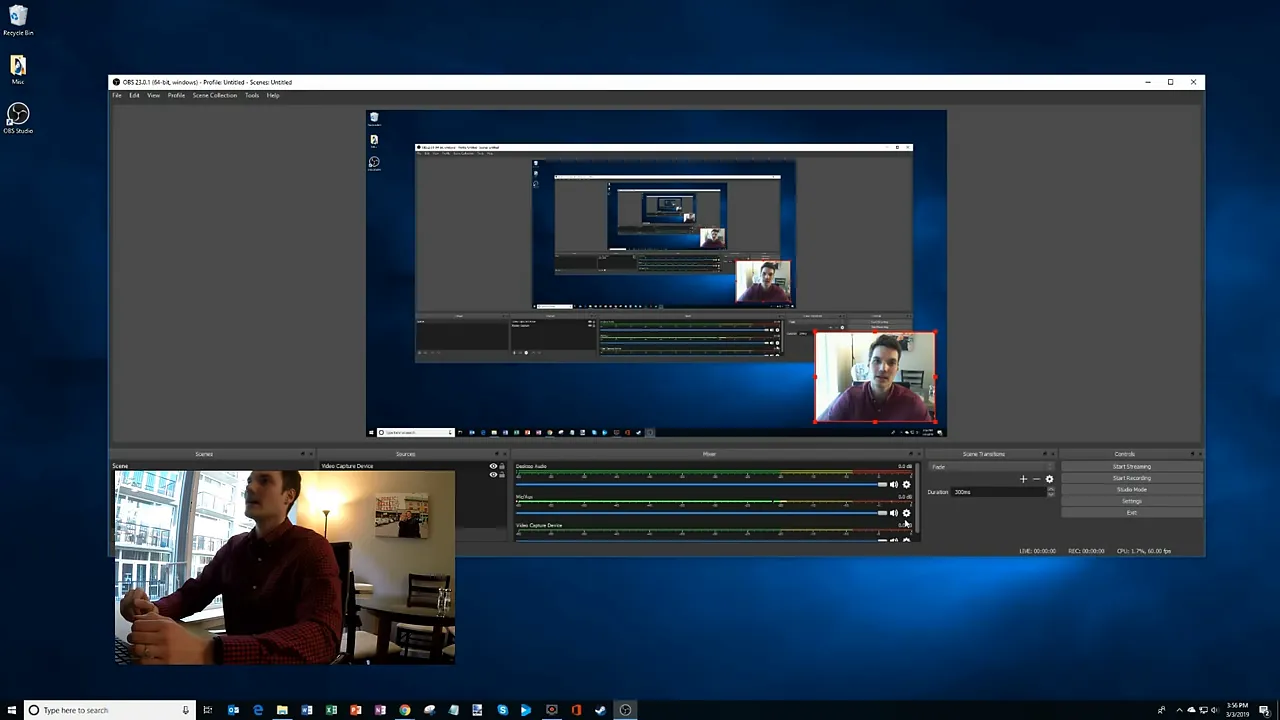
One thing to keep in mind: sound coming out of your speakers can also get picked up by your microphone. During my game recording, I turn off the physical speakers so they don’t interfere with the voice recording, while OBS continues capturing the game’s system audio.
Check both audio sources before you start your main recording. The picture can look perfect, but you still want to make sure your explanation is being captured.
6. Start Recording Your Screen and Webcam
With the layout and audio ready, click Start Recording in the controls on the right side of OBS.
You can now minimize OBS and open the application you want to record. The webcam overlay won’t appear as a floating box on your actual desktop, but it is still part of the scene OBS is recording.
That distinction is important: your recording includes the layout in the OBS preview, even when OBS is minimized.
Try a short recording first
For my test, I open Parkitect, a theme park building game similar to RollerCoaster Tycoon, and load a desert park called Mystic Oasis. As I move around the park and show the roller coasters and free-fall tower, OBS captures the gameplay, my webcam, my commentary, and the game audio together.
A theme park tour makes a fun test, although I may need a little more practice with the gaming commentary!
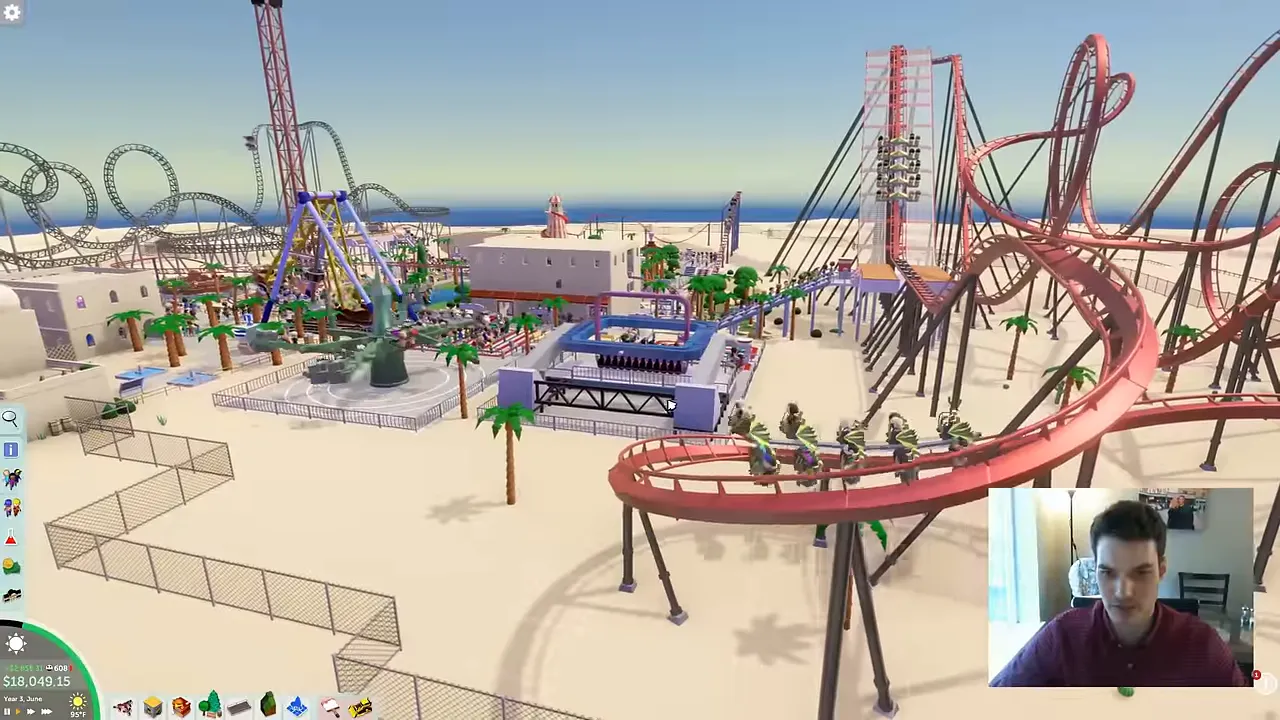
The same basic setup is useful for a browser demonstration, a software walkthrough, or a presentation. Open the content you want to capture and work through it while OBS records in the background.
7. Stop, Find, and Review Your Recording
When you’re finished, return to OBS and click Stop Recording.
To find the saved file, select File > Show Recordings. OBS opens the recording folder so you can open your video and play it back.
Review your short test before committing to a longer session. Check that:
- Your screen content is visible.
- Your webcam appears in the intended position and at the right size.
- Your microphone captured your voice.
- The computer audio is present if you wanted to include it.
- The saved file opens in the software you plan to use.
In my test, the saved recording includes the game with the webcam on top, along with my voice and the system audio. That’s the combination we were aiming for.
A Simple Setup With Room to Grow
That’s all you need for a basic screen and webcam recording: a display source, a camera source, audio, and a recording destination.
OBS Studio can do much more, including live streaming to services such as Twitch, Facebook, and YouTube. But you don’t need to learn every feature to start making useful recordings. Get this simple layout working first, then build on it as you need more control.
For additional setup reference, the OBS Quick Start Guide is a useful companion. Once your first test looks and sounds right, you’re ready to record your tutorial, presentation, or next theme park adventure.
Made with VideoToBlog using How to Record your Computer Screen & Webcam


